
App setting
This is an explanation of each setting of dbll.
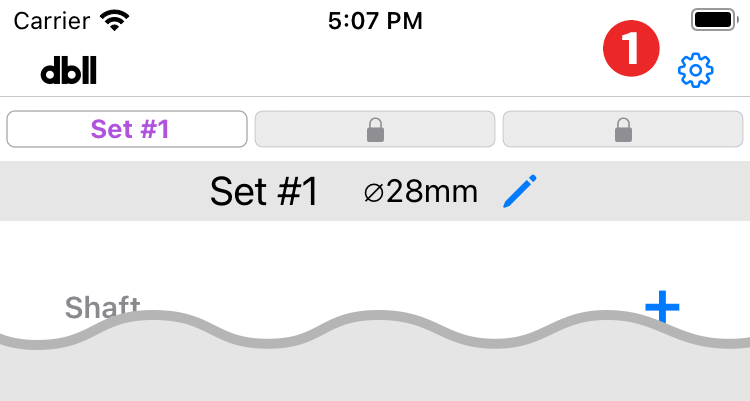
- Setting button: Tap to open the settings screen.
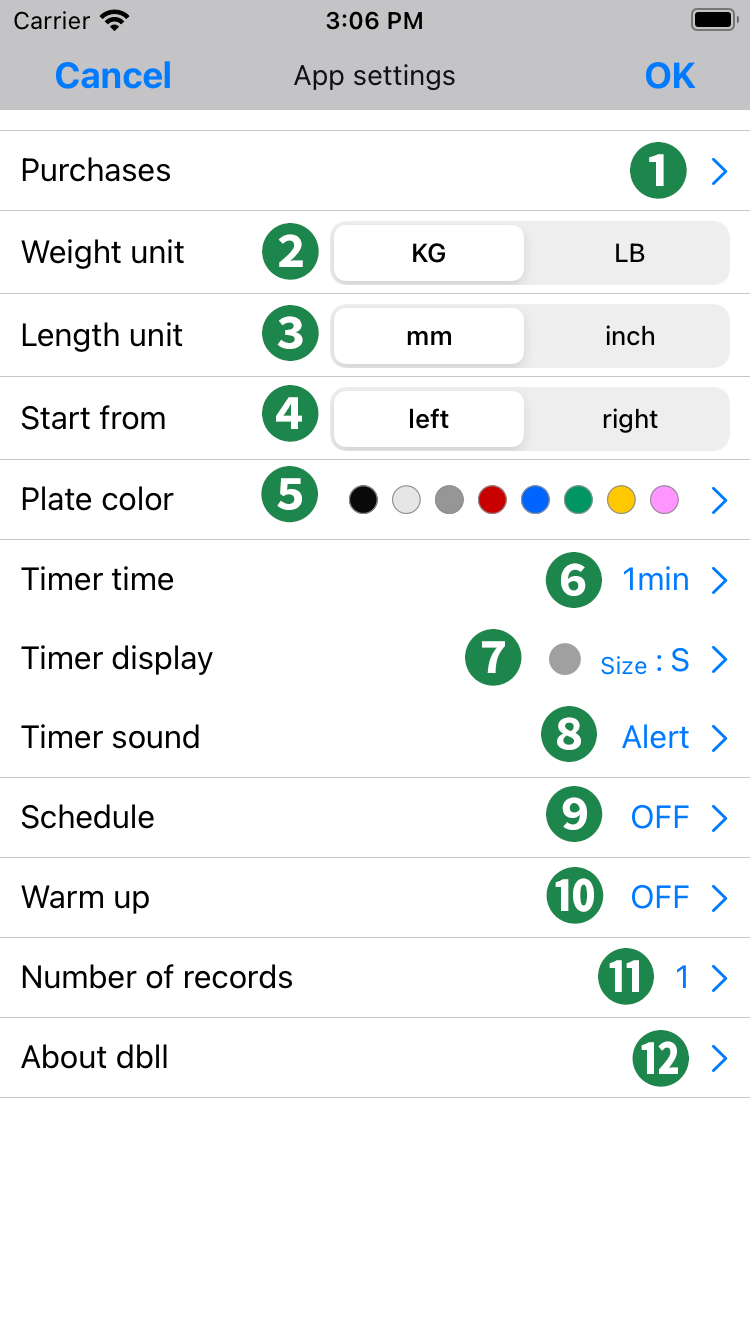
- Purchases: Functionality can be expanded with optional purchases.
- Weight unit: Tap to select.
- Length unit: Tap to select.
- Start from: When performing separate left and right type exercises, tap to select whether to start from the right or the left.
- Plate color: The color of the plate used for dumbbell display can be customized. Details
- Timer time: Set the timer time. Details
- Timer display: Sets the display size and color of the timer. Details
- Timer sound: Set the timer sound. Details
- Schedule: Set the schedule. Details
- Warm up: If you warm up before each exercise, you can set how many times and what percentage of your production weight you will be using the dumbbells. Details
- Number of records: Set the number of exercise records. Details
- About dbll: Check the version and others. Details
5Plate color

- Change color: Tap the color you want to change to select it. There is a ▶ ︎ mark next to the selected color.
- Slider: Change the color with the slider.
- Reset: Resets the selected color to the saved state.
- Preset: Resets the selected color to the initial state.
6Timer time
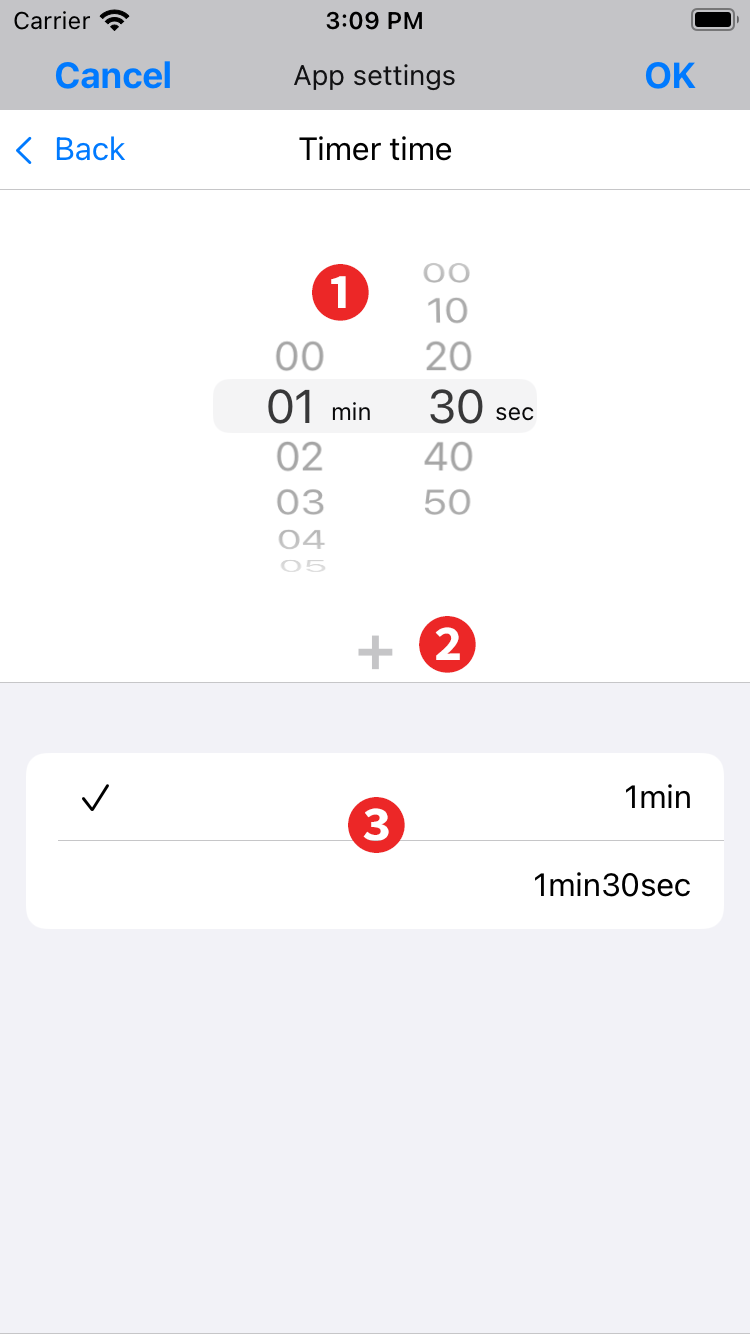
- Timer time: Select the timer time, in 10-second increments, up to 20 minutes.
- Add button: Add a timer.
- Timer list: Tap a list item to select it, and it will be set as the time to be used for the timer and marked with a check mark. To delete, swipe the list item to the left.
7Timer display
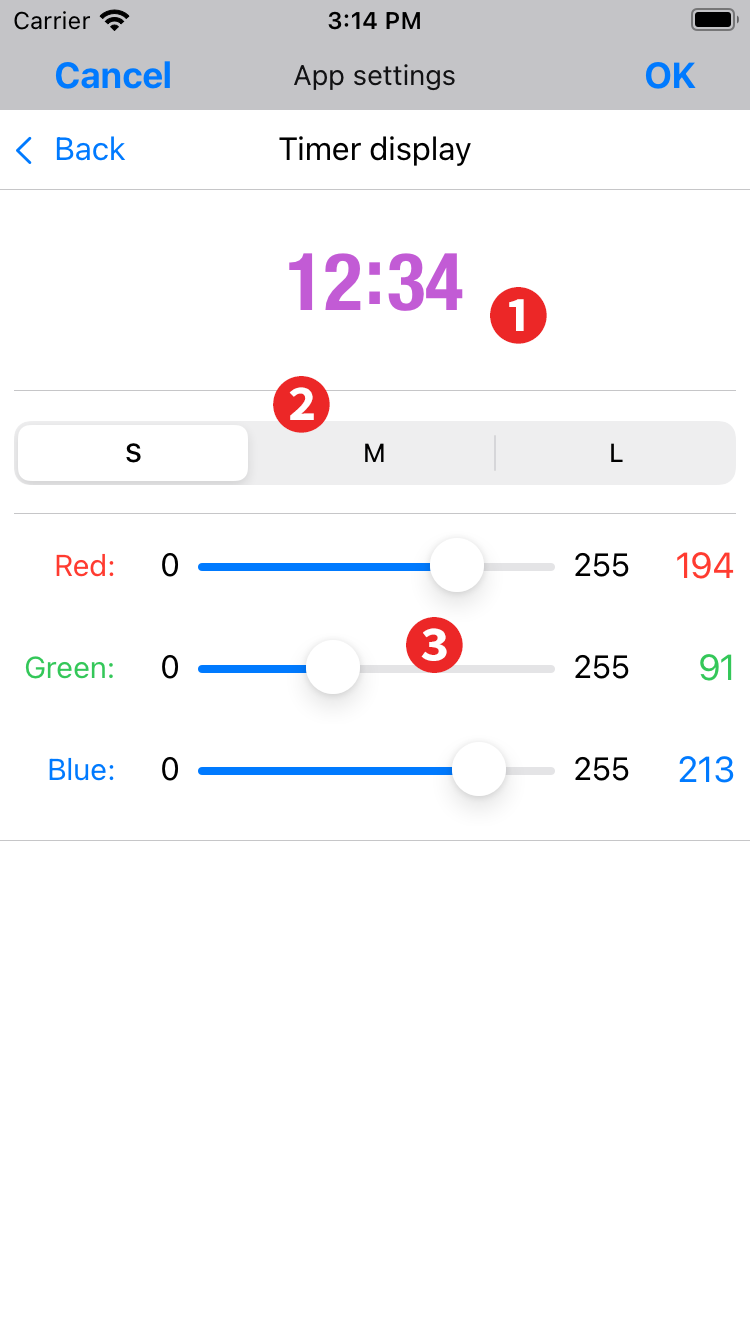
- Display image: Actual display image.
- Selector: Select the size.
- Slider: Change the display color with the slider.
8Timer sound
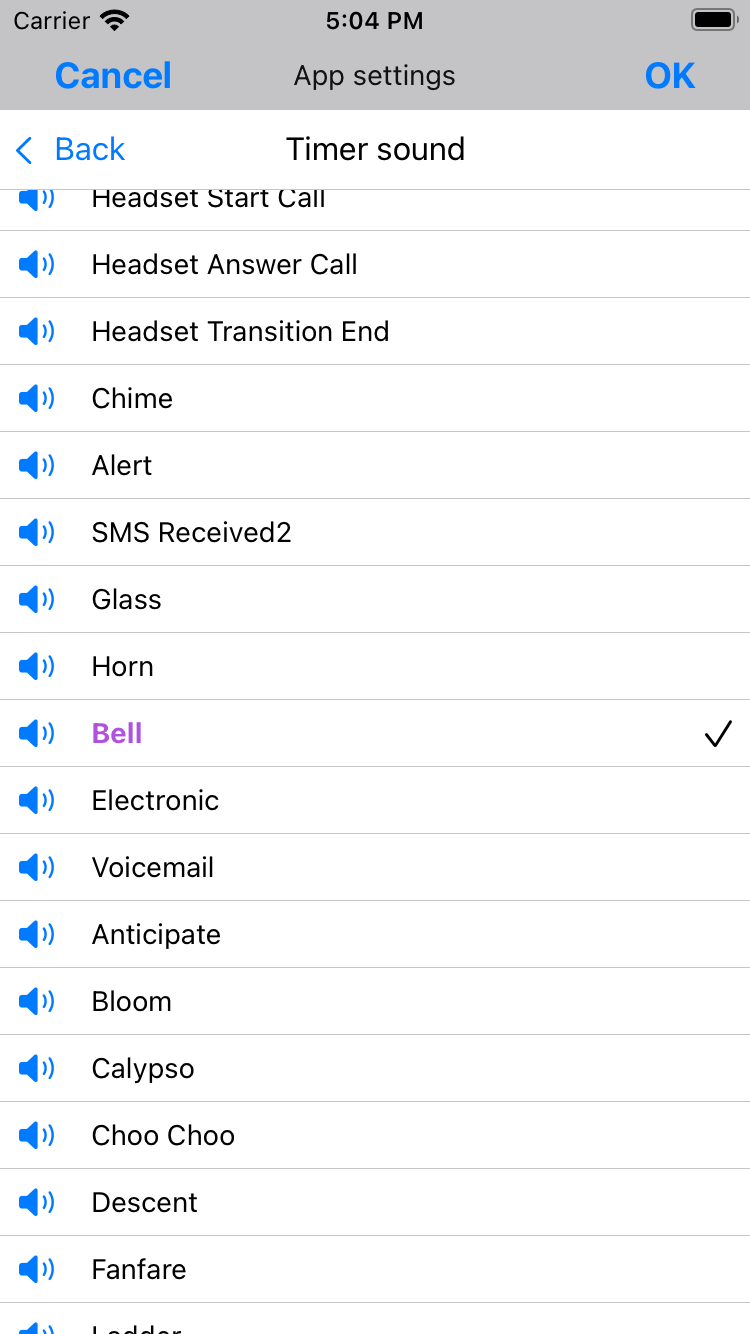
Scroll down to see the sounds.
Tapping the speaker icon next to the sound name will play that sound.
Tap on the sound name line to select it, and the sound name will turn purple and a check mark will appear.
9Schedule
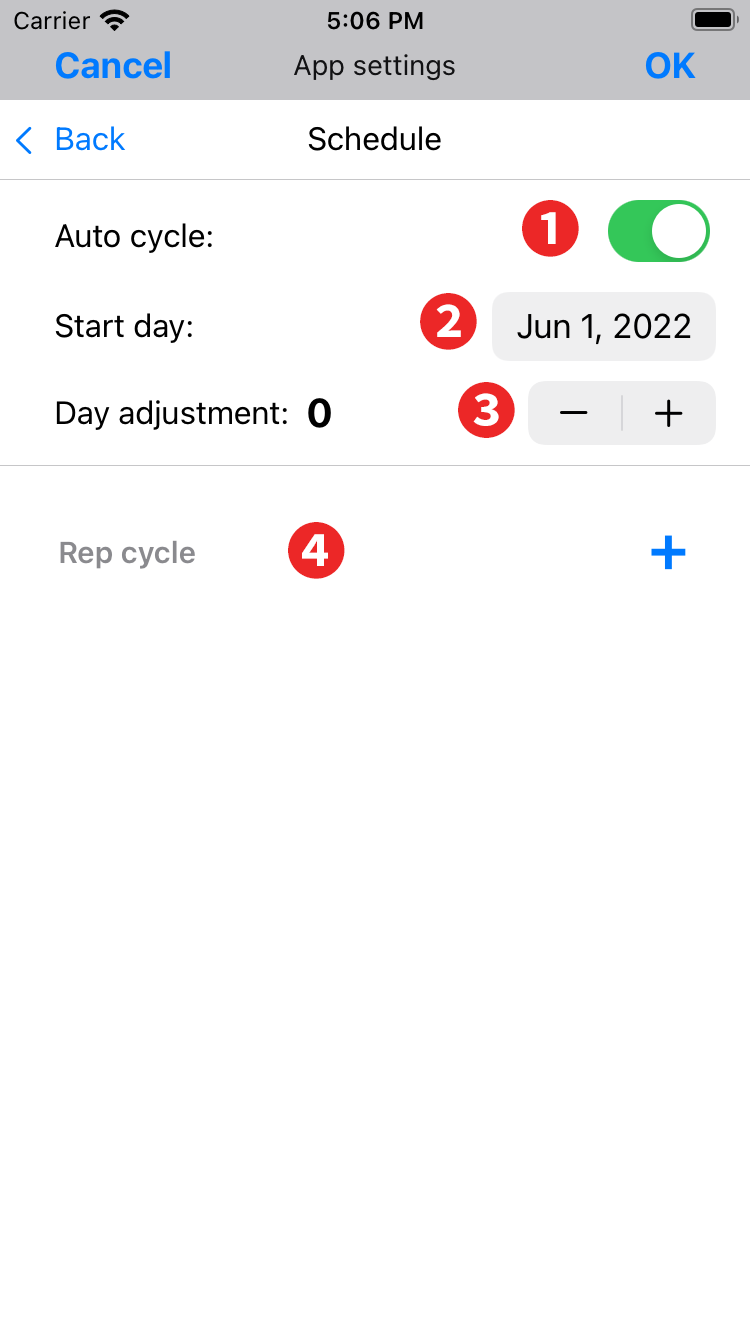
- Auto cycle: When turned on, the workout for that day is automatically determined based on the Start Day.
- Start day: Set the start day.
- Day adjustment: You can shift the schedule without changing the start date. For example, if you want to take a temporary rest day today, and instead of skipping today's workout, you want to move it to tomorrow, set the days adjustment to -1.
- Rep cycle: Set this if you want to switch between high, medium, or low reps at regular intervals. This setting will automatically change the weight of the dumbbells used in the exercise according to the mode you set. This setting is not necessary if you always train in the same rep mode.
How to set up a "Rep Cycle”
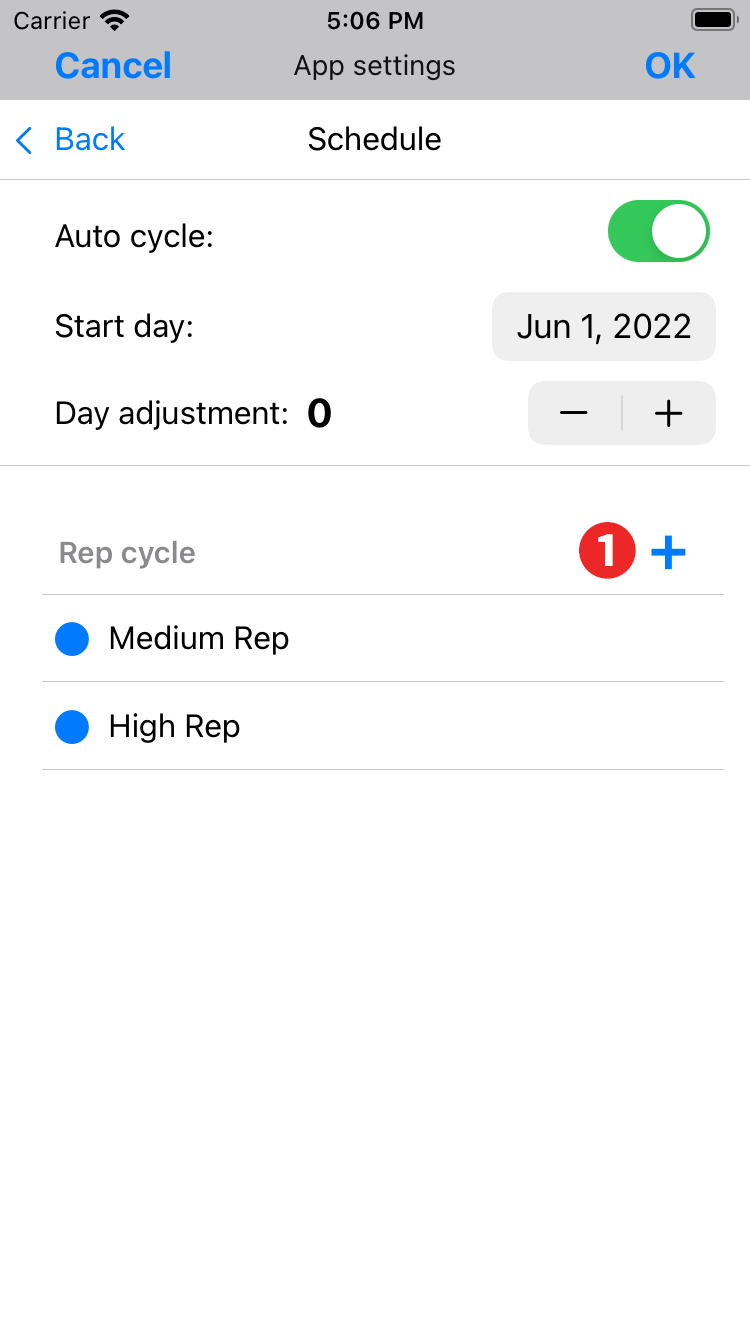
- Tap “+” to add "Medium Rep".
Tap the added "Medium Rep" to open a submenu, so change to the Rep mode you want.
In this example, if the split method workout you are using has a total of 5 days, the first 5 days will be automatically set to medium rep and the next 5 days will be automatically set to high rep. This will be one cycle, and for 5 days from the 11th day, return to the first medium rep and repeat this cycle.
If you want to set up a medium rep 5 day cycle twice in a row, then a high rep 5 day cycle,
● Medium Rep
● Medium Rep
● High Rep
And set.
To delete a rep mode, swipe left on the rep mode you want to delete and tap Delete.
10Warm up
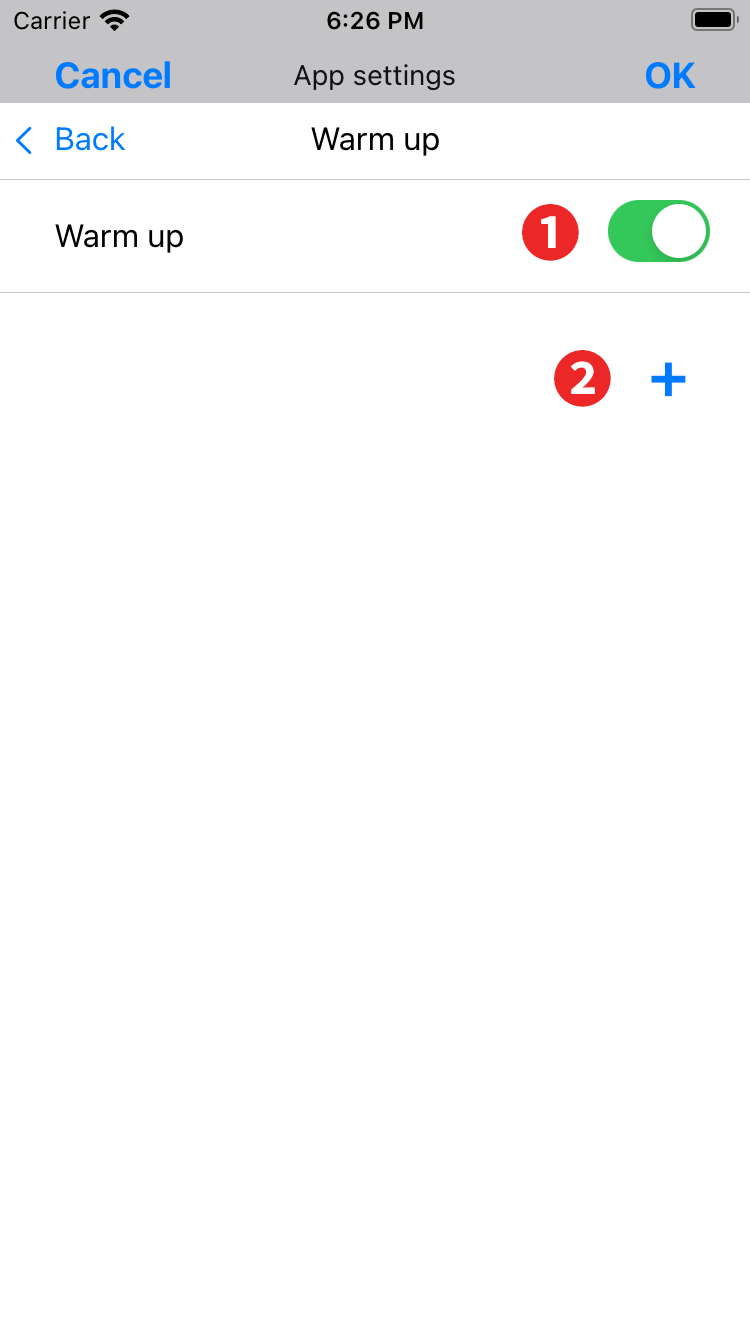
- Warm up: Turns the use of warm-up on and off.
- Add button: Tap “+” to add "Set 1 95%". Increase or decrease to the desired weight percentage. Add for the number of warm-ups and set the respective percentage.
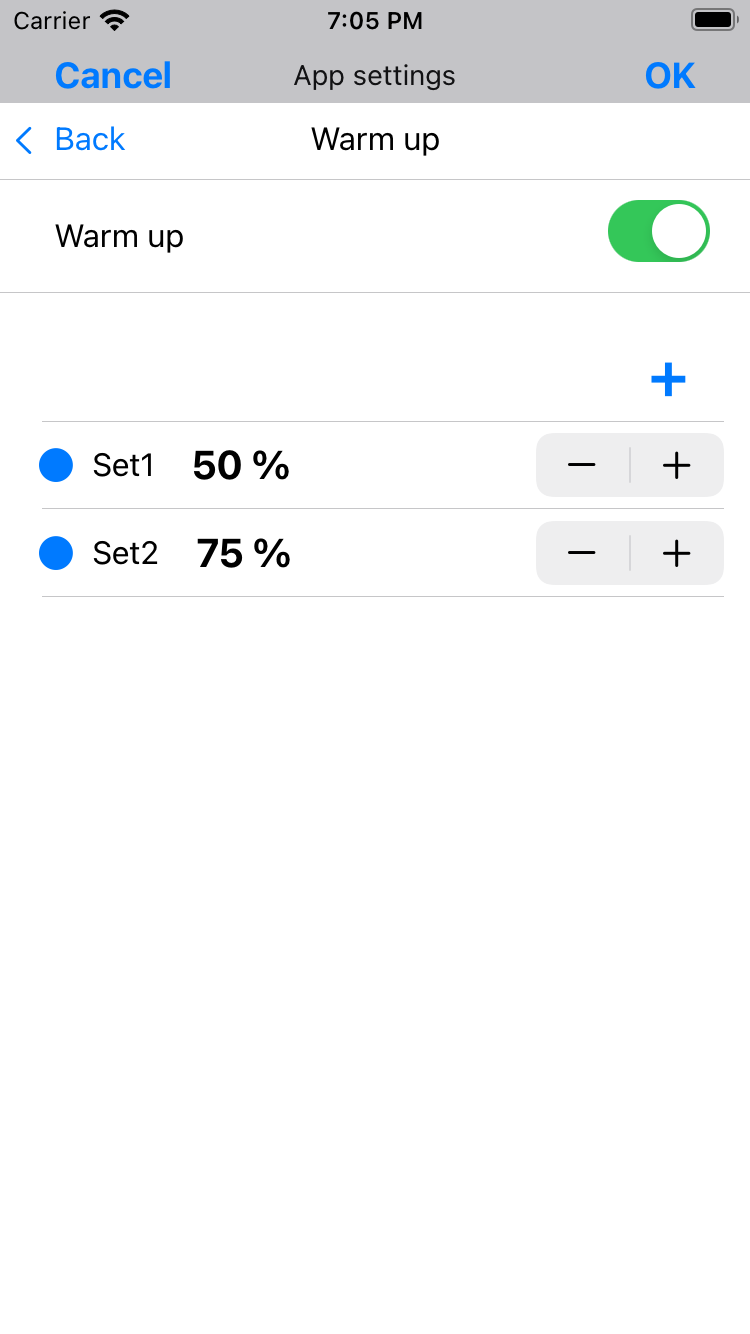
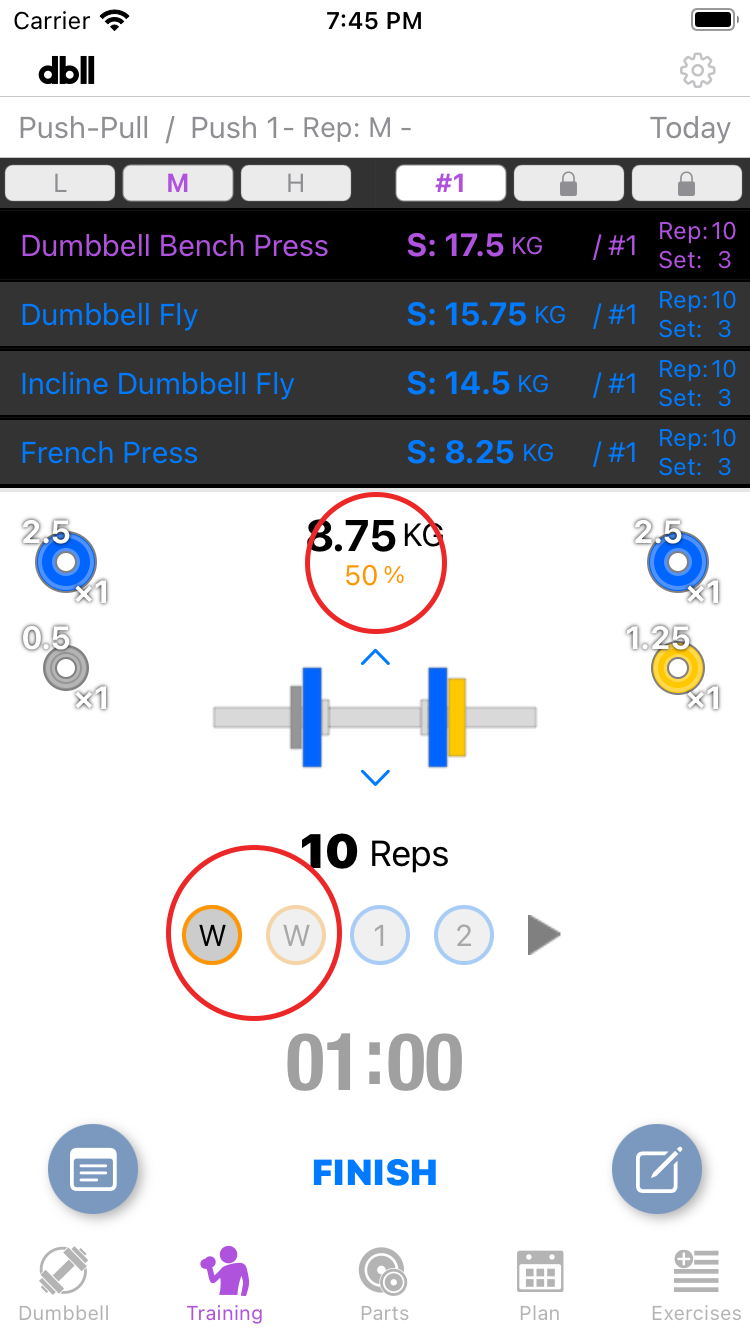
If set up as in this example, a warm-up will be added after the start of training and before the performance of each exercise.
If the weight of the set percentage cannot be created with the dumbbell, the weight of the closest percentage of the weights of the dumbbells that can be created will be applied.
11Number of records
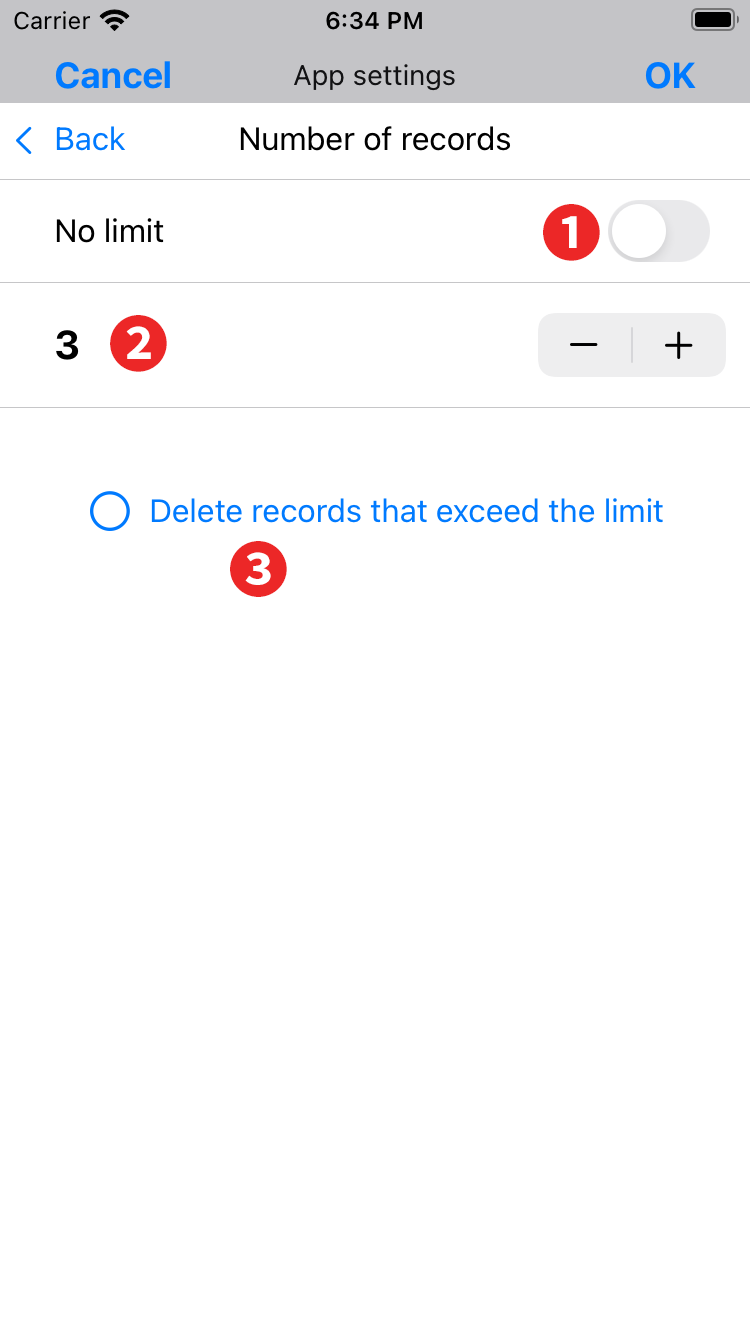
- No limit: When on, the number of exercise records is unlimited. This can be used by purchasing the "Remove the record limit" in-app purchase. Please note that you may not be able to record if the storage capacity of your iPhone is low.
- Number of records display: If you do not want to record, set 0.
- Delete records that exceed the limit: Tap to check the box to delete the previously recorded data immediately after the setting is completed when changes are made to reduce the number of records.
12About dbll
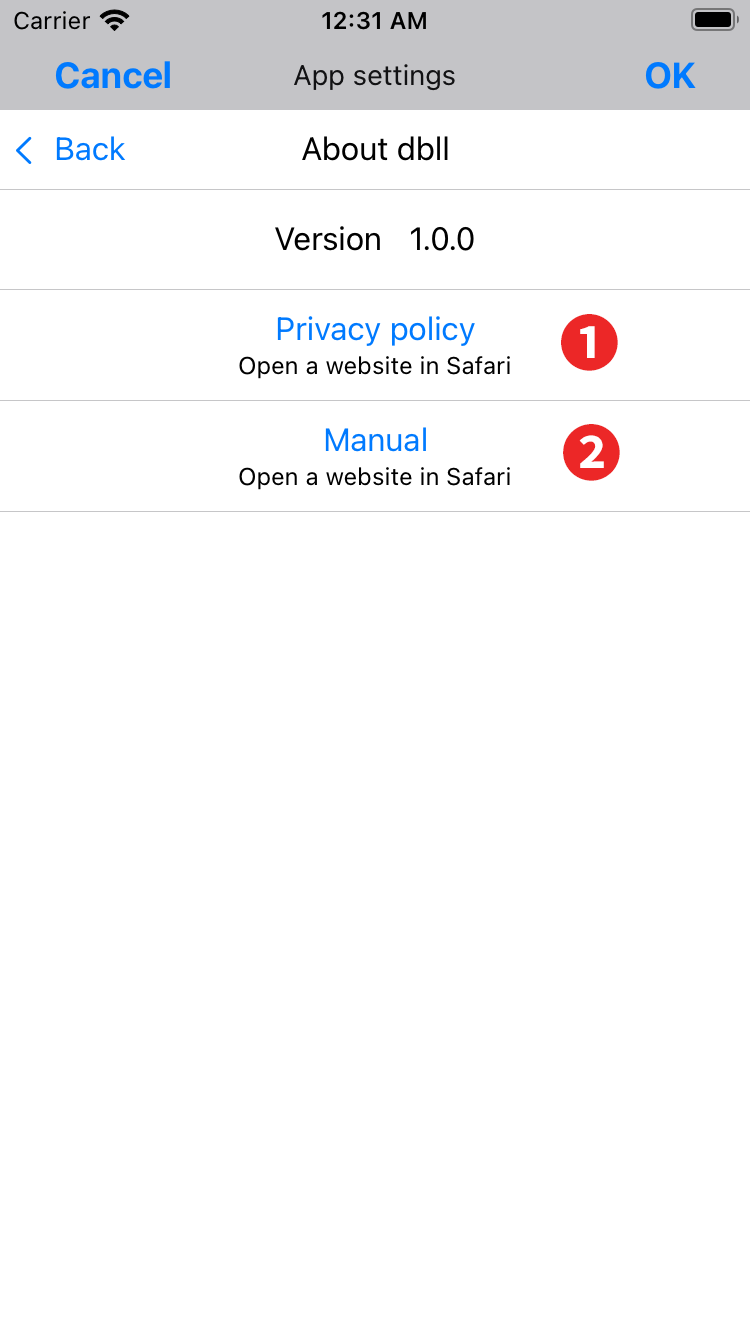
- Privacy policy: Tap to view the privacy policy on the dbll support site in your browser.
- Manual: Tap to view the dbll manual on the dbll support site in your browser.